How to Use Trail Cameras to Pattern Deer
Posted by Steven on November 25, 2025
Why Trail Cameras Are Essential for Deer Scouting
Any serious hunter knows how short the hunting season is. Because of this, good preparation is key. Before the season starts, there are several important tasks to complete, such as gathering supplies, setting up a blind or tree stand, and preparing for field dressing. One major preseason task is scouting deer, and trail cameras are one of the best tools for tracking deer movement.
Scouting with trail cameras provides valuable, unobtrusive data on deer behavior. It helps identify travel routes, feeding areas, and activity patterns. This information allows hunters to develop informed strategies, increase their chances of success, and gain a deeper understanding of their hunting grounds without disturbing the animals. This guide offers practical tips for using trail cameras to pattern deer effectively.
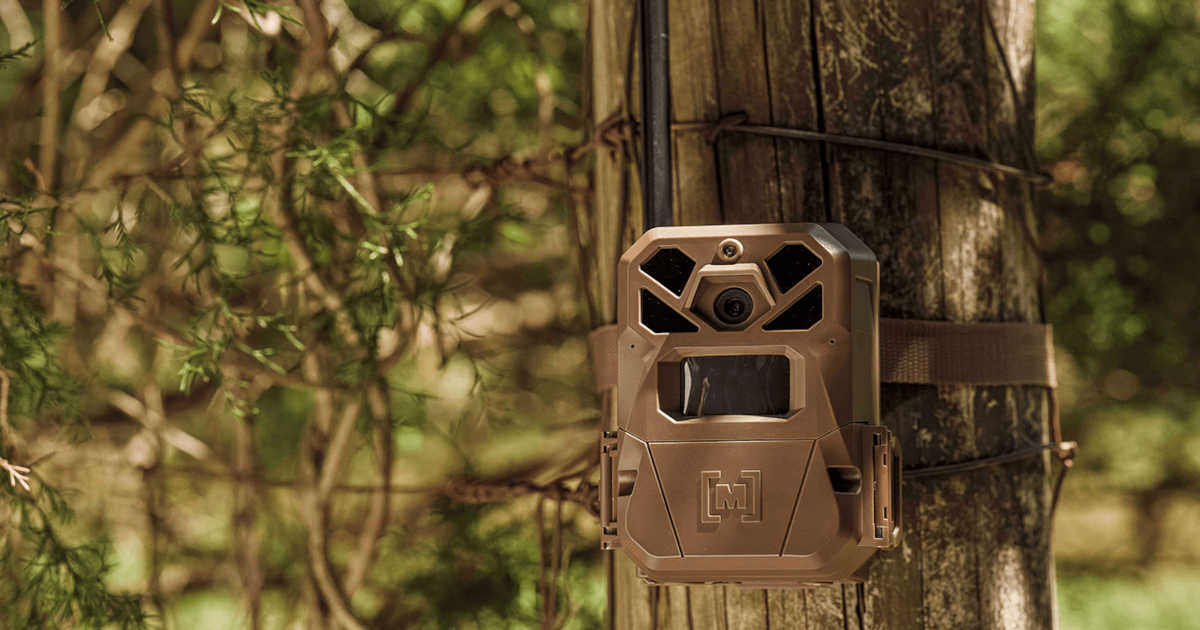
How to Set Up Trail Cameras for the Best Results
When setting up trail cameras, the first thing to consider is location. Place cameras in areas where deer are likely to travel, such as trails, food sources (like food plots and feeders), and near bedding areas. It’s also helpful to position cameras near scrapes or rub lines to monitor activity. When placing cameras along trails, aim for broadside shots of deer rather than head-on angles to better capture identifying features.
To capture full-body images, angle the camera slightly downward to maximize the field of view. A deer's chest height is typically around 3 to 4 feet, so mount the camera at the correct height. To avoid false triggers from the rising or setting sun, face cameras north whenever possible.
If brush, tall grass, or branches appear in the frame, clear them out. Vegetation between the camera and the target area can cause false triggers when it moves in the wind.
How to Monitor and Analyze Trail Camera Data
Once your cameras are set up, the next step is learning how to analyze the photos and videos. Review camera logs to identify when deer are most active. Although it can be tempting to check the cameras frequently, do so sparingly to minimize scent and disturbance. If possible, wait a week or more between checks.
Deer movement changes with the seasons, so you'll need to adjust camera placement over time. Move cameras to areas like bedding zones, scrapes, and rub lines as deer become more active in those spots. To capture more context, especially when deer are moving quickly, use video mode or burst mode.
Advanced Trail Camera Strategies for Serious Hunters
If your budget allows, invest in multiple cameras. This provides a more comprehensive picture of how deer move across the landscape.
Trail cameras are generally permitted on public land, though some areas may require a permit. Always check local regulations before placing cameras. To prevent theft, consider mounting cameras higher up on trees and angling them downward.
You can also create mock scrapes to gather more intel and attract dominant bucks. Be mindful of baiting laws on both public and private land because regulations vary by region.
Advanced Trail Camera Strategies for Serious Hunters
Using trail cameras removes much of the guesswork from scouting and helps you build a well-informed hunting plan. Focus on food sources, water, funnels, bedding areas, and transition zones to stay ahead of deer movement. Mount your cameras at the correct height and angle for clear images, and check them regularly, adjusting placement as deer behavior changes.
If possible, use multiple cameras and always follow local laws and land-use rules. With the right strategy and attention to detail, trail cameras can dramatically improve your success this hunting season.